To commemorate the second anniversary of Bayonetta 2, we’d like to fill you in on three never-before-seen secrets to help you get more from the game than ever before! For more Bayonetta 2 anniversary celebrations, don’t miss director Yusuke Hashimoto’s anniversary post and amiibo announcement.
First Secret: Hidden Shops!
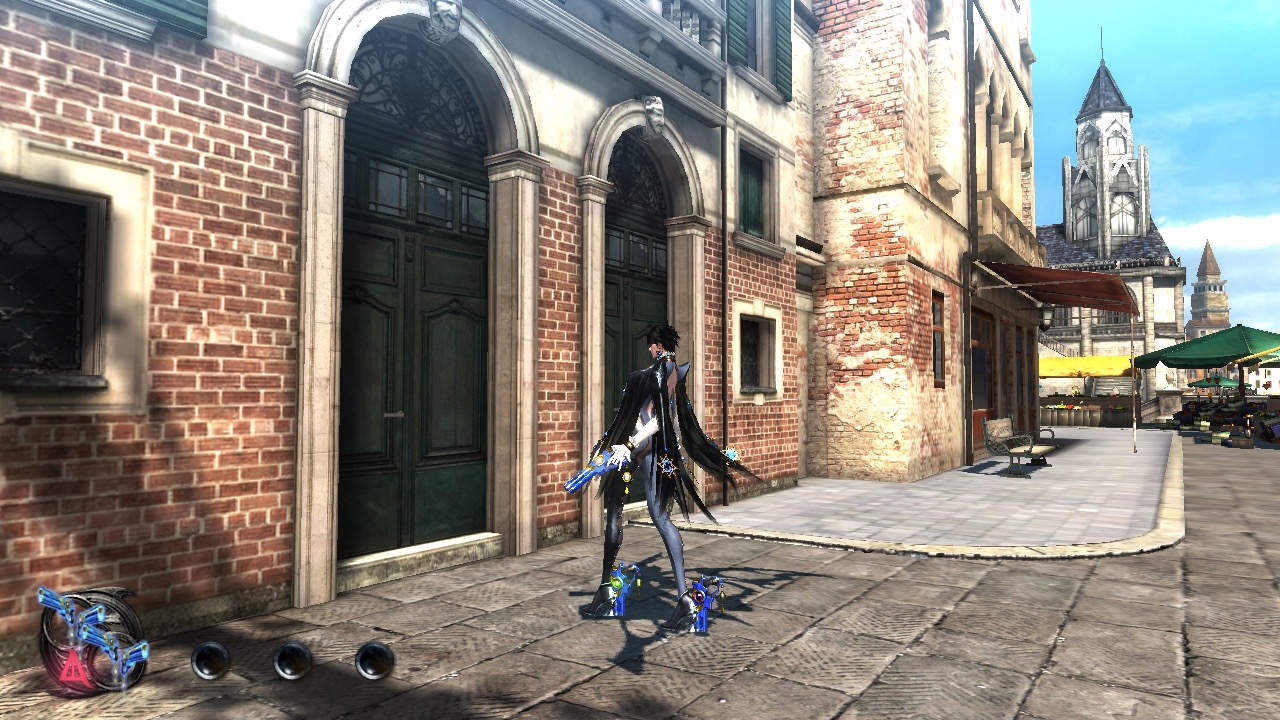
Bayonetta 2 has some very powerful hidden items and characters that are extremely difficult to unlock. By following the steps below, though, you’ll be able to get your hands on them easily – for a price.
Each hidden item can be purchased at a different door, found somewhere in one of the stages. But you can’t just walk right up to the door and grab your item. When you find one of these doors, stand in front of it and knock three times. It’s easiest to knock just right if you move the camera so that it faces the door, then aim for Bayonetta’s upper body and tap three times.
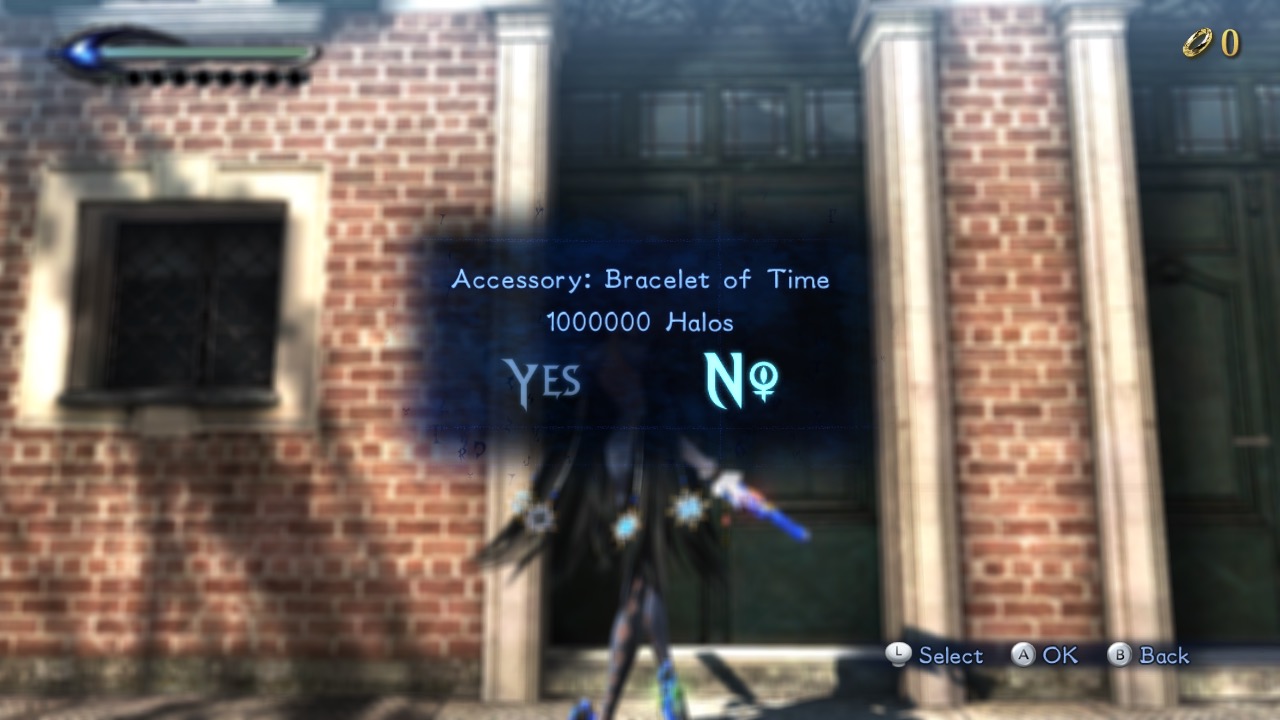
 If you knocked successfully, the camera will move to face the door head-on. Now you can use your controller to input the super-secret Platinum Code:
(Imagine that you’re drawing our “P-star” logo with your D-pad and buttons! That always makes it easy for me to remember.)
Note that this code won’t have any effect if you’ve already acquired the secret item that corresponds to that particular door.
After putting in the Platinum Code, you should see a purchase prompt like the one below. Just pick “Yes” and hand over some Halos and the secret item is yours! The price might be pretty shocking – don’t worry, you’re not getting ripped off! Keep reading if you need a little help saving up.
 Okay, but which doors are which? Follow our guide below and find the door that hides what you’re after.
Hidden Accessories – Chapter 1
Bracelet of Time – 1,000,000 Halos
Climax Brace 2 – 2,500,000 HalosFind the building shown here. The Bracelet of Time can be bought from the door on the left, and the Climax Brace 2 from the door on the right.
Climax Brace – 2,500,000 Halos This door can be found to the center right of the plaza, on the ground floor.
Eternal Testimony – 2,500,000 Halos This door is also on the center right side of the plaza, along the second floor passageway.
Hidden Weapons – Chapter 1
Chain Chomp – 1,000,000 Halos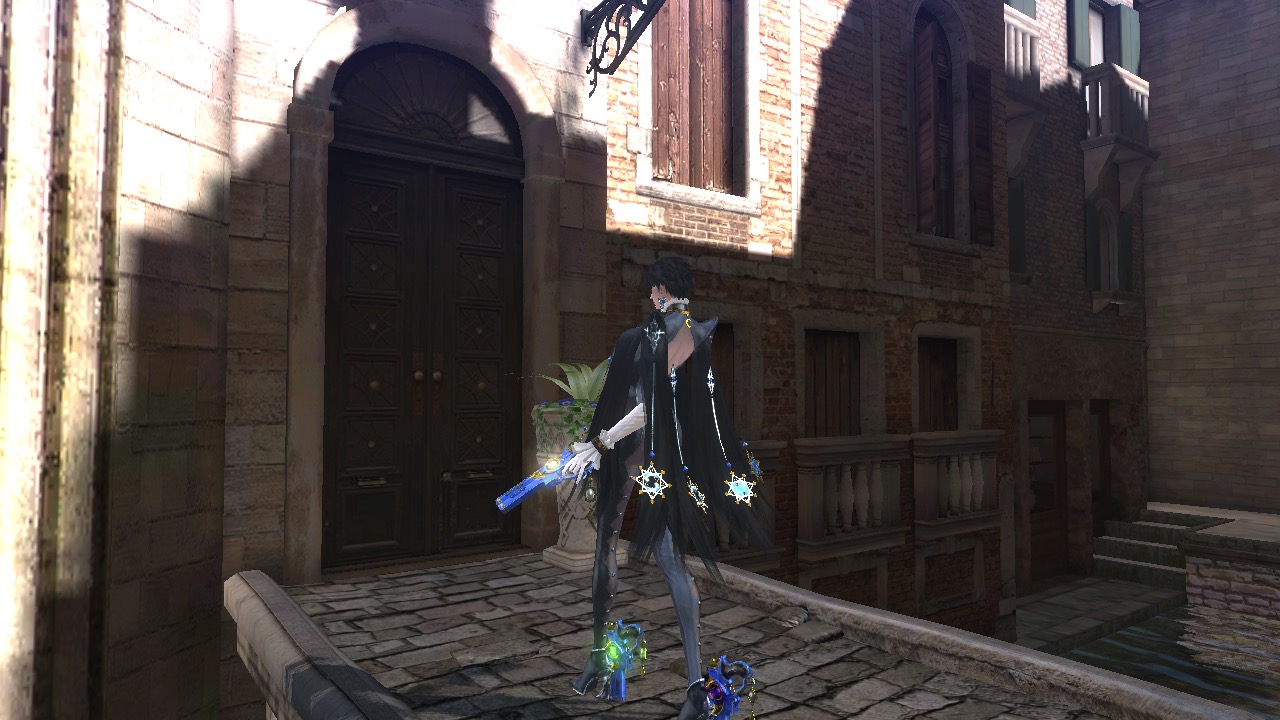 You’ll find this door in the alleyway at the front of the square in front of the church. Use the small bridge over the waterway as a landmark to help you find it.
Rodin – 5,000,000 Halos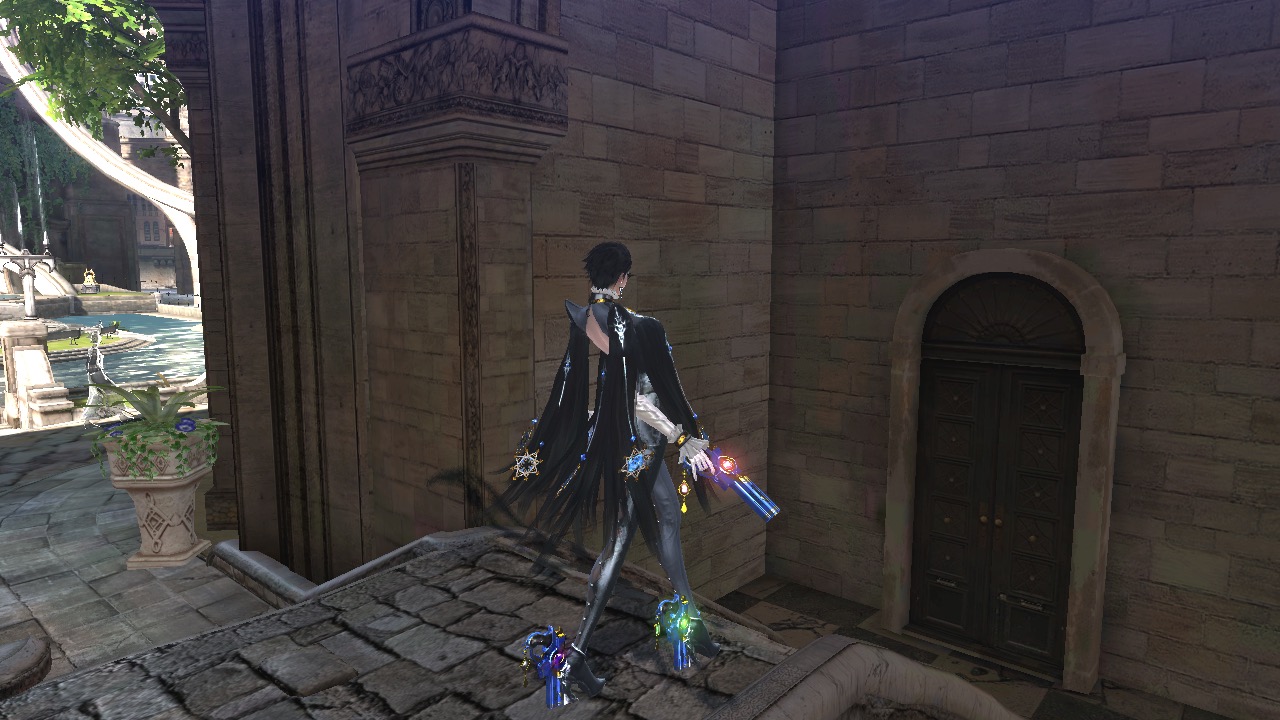 This door is also located in the square in front of the church, right after you cross the small bridge over the waterway.
Note that Bayonetta’s keeping her distance in the screenshots so that it’s easier to see the door. You’ll have to get up close to knock!
Hidden Characters – Chapter 2
Jeanne – 500,000 Halos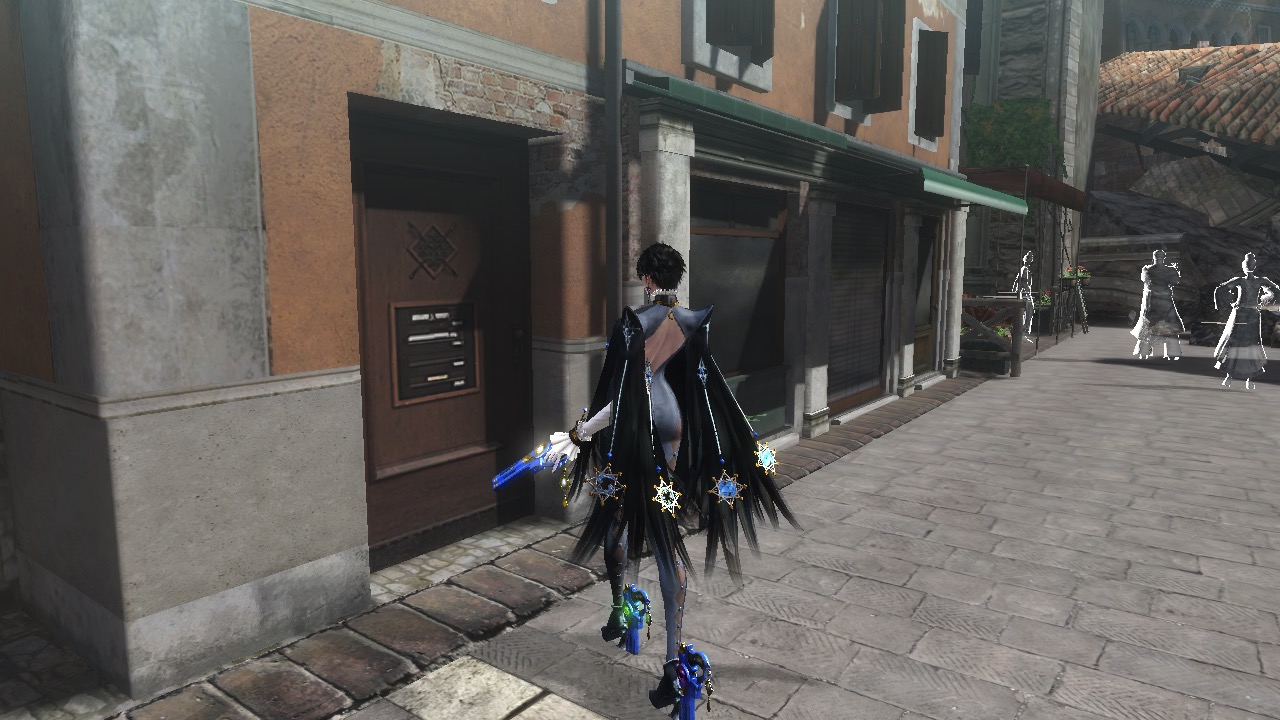 You’ll find Jeanne’s door to your immediate right at the start of the chapter!
Rosa – 1,000,000 Halos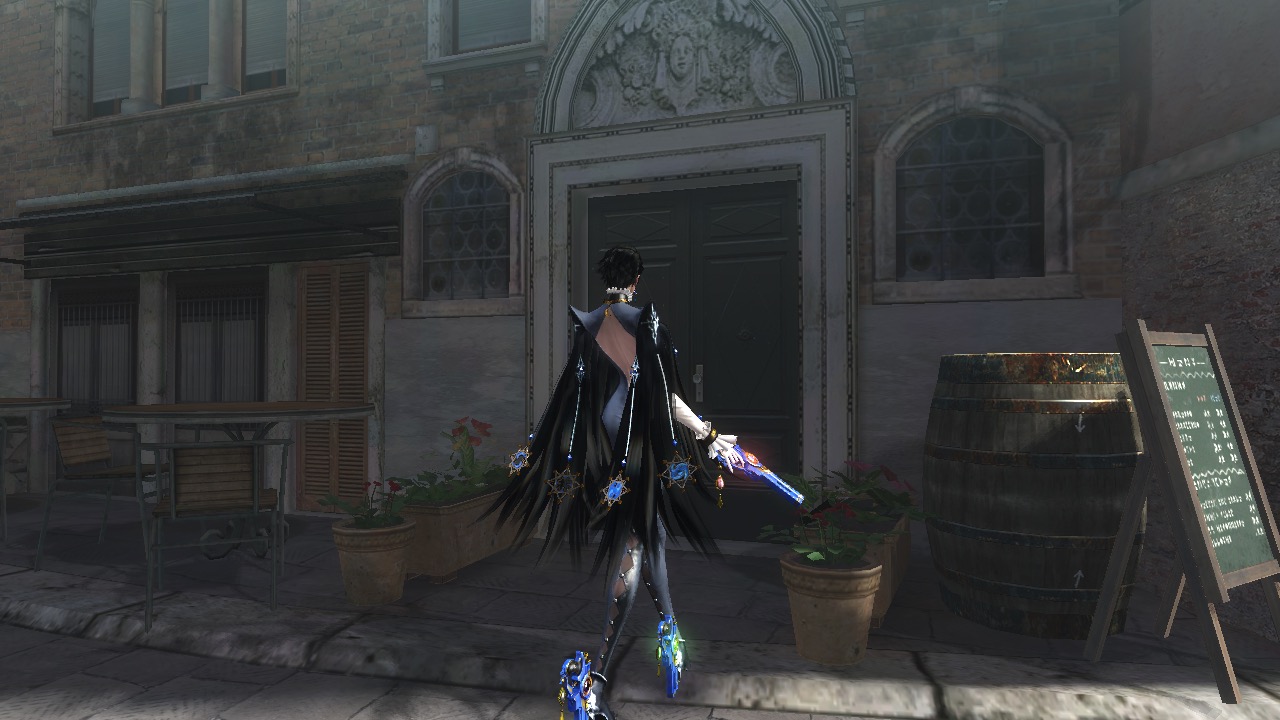 Go a little bit farther past Jeanne’s door, and keep an eye out for the menu on the tripod!
Tag Climax-playable hidden characters – Chapter 4
Balder – 5,000,000 Halos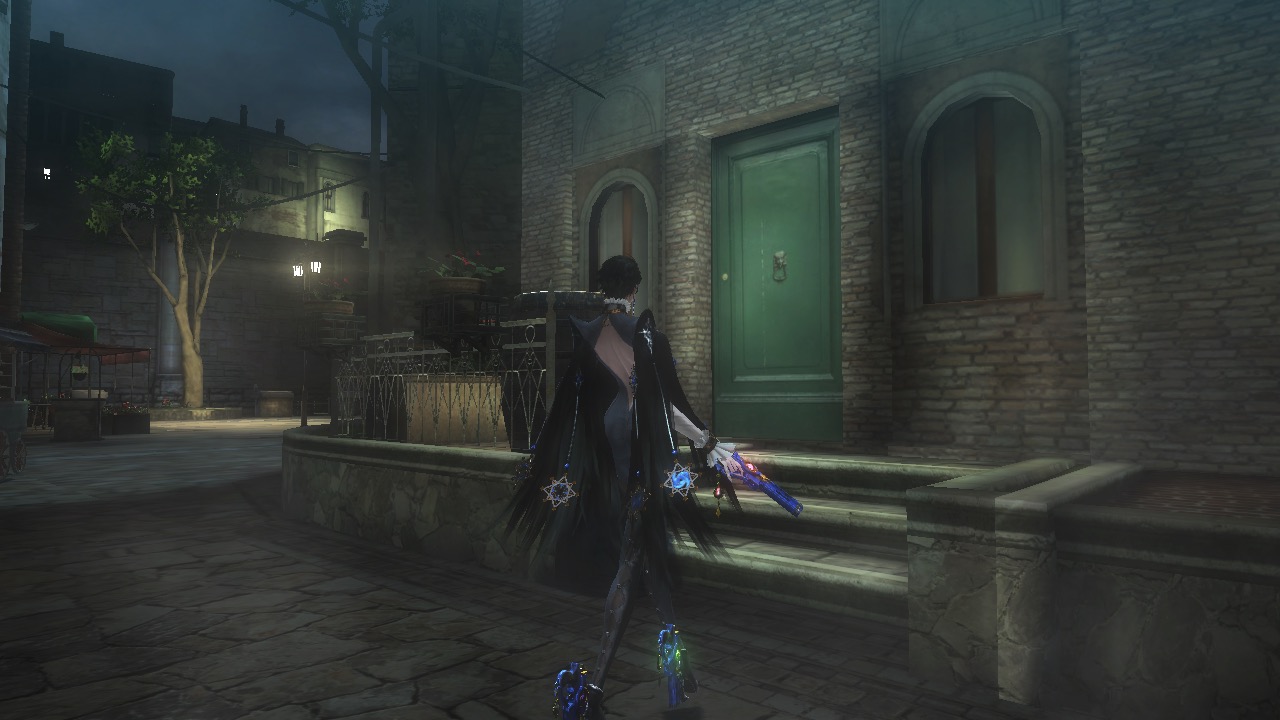 Balder’s door is to your right, just after you enter the city at night.
Rodin – 10,000,000 Halos Walk a bit from Balder’s door and turn the corner to find Rodin’s door tucked away here.
Second Secret: Balder and Rodin’s Movelists
So you’ve found the doors above and you’re ready to take on Tag Climax with Balder and Rodin. Here are the details on all of their moves.
Balder – Ground moves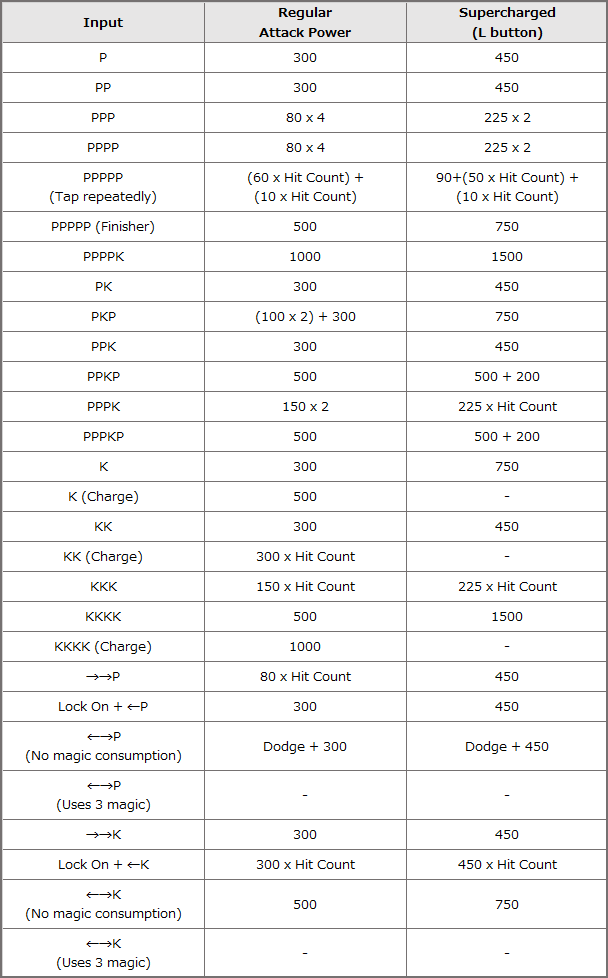
Balder – Aerial moves
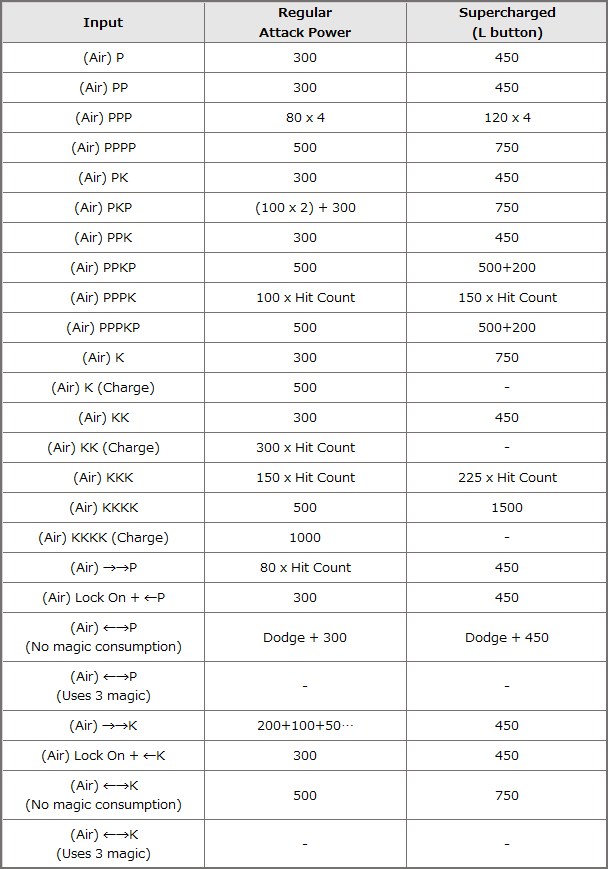
Balder – Other moves
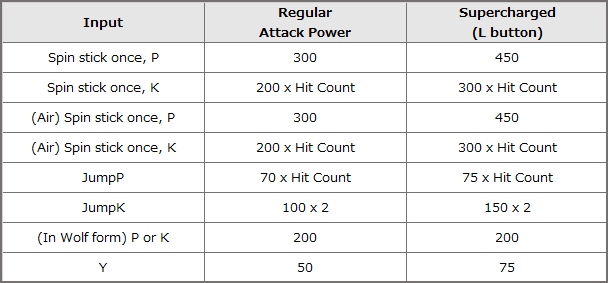
Balder Basics
Balder’s punches can’t be charged up, but can be released in a flurry of fast attacks. On the other hand, his kicks take a while, but have considerable reach and can be charged for even more power.
Notable moves:
• Finishing moves
Balder ends each of his combos by invoking his gigantic Holy Glaive.
Far too holy to use Infernal Weaves, he instead summons one of the angelic Cardinal Virtues to perform devastating finishers.
• ←→P
Balder can retreat with this evasive ability, which is similar to one of Bayonetta’s moves with Rakshasa. When he successfully evades an enemy attack with this move, he goes into Light Speed – his unique version of Witch Time.
• Lock On + ←P
Pressing back and charging Punch while locked on moves Balder into midair instantaneously, letting him connect into aerial combos.
• Lock On + ←K
Simply tapping Kick for this move will produce a pillar of flame from under the enemy. Charging Kick, however, will release up to three pillars in succession.
Rodin – Ground moves
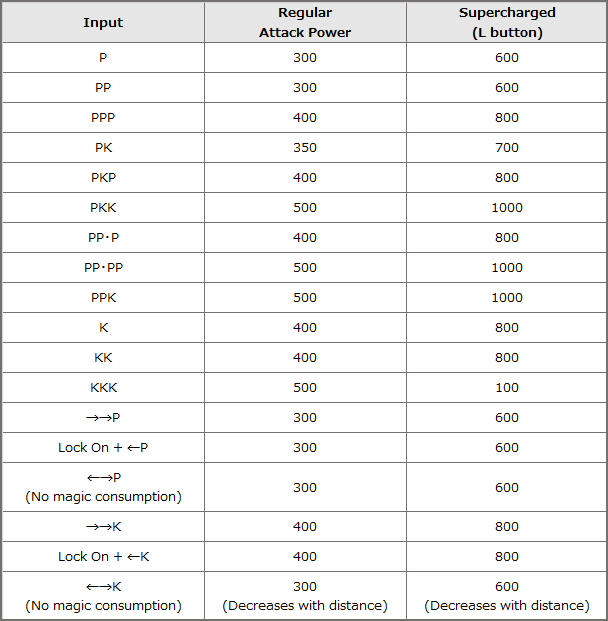
Rodin – Aerial moves
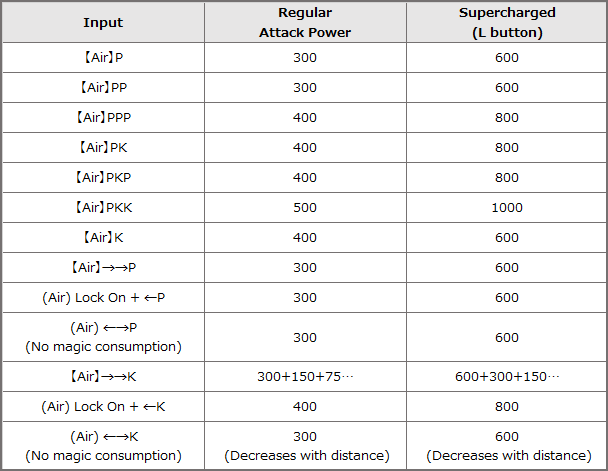
Rodin – Other moves
Rodin Basics
Rodin can’t punch quickly in rapid succession, but each one of his punches is powerful and covers a lot of distance. All of his attacks can be charged, giving you plenty of chances to boost his firepower.
During Umbran Climax, he loses the ability to charge his attacks, but each individual attack becomes even more powerful.
Notable moves:
• Y (Shoot)
Rodin’s projectile has considerable stopping power. He can disrupt an attack from an Accolade or similar enemy with a press of the Y button.
• ZR (Defense)
Rodin lacks other characters’ abilities to dodge and use Beast Within. However, he makes up for it with an all-around block that can repel all enemy attacks.
By making full use of this strong block and the high damage output of his basic attacks, Rodin can knock his foes out of their stance and gain the upper hand in combat.
• ←→K
Charge this up to release a shockwave that spreads out to nearly fill the area. Accolades and similar enemies hit by this shockwave are knocked defenseless. Its potency changes with distance – it hits about twice as hard at point-blank range!
Third Secret: Say “Halo” to financial independence!
Maybe you’re balking at the price that some of these hidden items will run you. Worry not! Let us guide you on the road to more Halos than you know what to do with. You’ll be seeing so much gold you’ll need to invest in a pair of shades in no time.
 Earn Halos fast with the bona fide method preferred by the fabulously wealthy PlatinumGames development team. Here’s how:
You’ll be playing Verse 1 of the Prologue stage, with Rosa as your character. If you can’t select Rosa, you can make do with another character by equipping the Earrings of Ruin. You’ll also need to use the Gaze of Despair no matter which character you choose. If you’re playing as Rosa, then your second accessory can be whatever you like.
Are you ready? Here’s the tricky part:
When you’re battling on the fighter jet, there’s actually no upper limit to the number of enemies that can appear. The game only proceeds to the next stage after a certain amount of time has passed. In other words, as long as you keep killing enemies, they’ll keep coming – and the more Halos you can earn!
To start off, just beat down a bunch of Angels, build up your magical powers and burst into Umbran Climax. Since you’re playing as Rosa OR using the Earrings of Ruin, that means Umbran Armor.
With Umbran Armor, you can hold down your kick button for a powerful attack that takes down these Angels in a single hit. During Witch Time, your combo points are multiplied by 1.5. If your enemies are enraged (and they will be, if you’re using the Gaze of Despair) that’s another 1.5 multiplier. If you use a Bloody Rose Lollipop, your attack power will rise way beyond what’s necessary, netting you even more Halos.
How? In Bayonetta 2, the damage you deal is reflected directly in your combo points. That means that you’ll earn more combo points if you land the killing blow with a more powerful attack, even against the same type of enemy. Rosa’s attack power is twice as high as Bayonetta’s to begin with, so if you can use her along with all the point-boosting methods described above, you can earn a truly staggering amount of points. More points means more spending money!
We should warn you that, even following those instructions, it takes a great deal of skill to earn a ton of Halos. Here are a few tips to help you net some more change as you try this method:
Tip 1:
The very first battle on the fighter jet and the next fight right after the cutscene end after you’ve defeated a set number of enemies, rather than after a certain amount of time. Use these first two fights to save up as much magical power as you can – the third battle is the one with limitless enemies described above, and you’ll need as much magic as you can muster.
Tip 2:
When there’s a break in enemies appearing, or you’re about to go into a cutscene, and you think your combo is about to get cut off, hold down the button for a taunt! Your combo counter will hold out as long as your taunt does.
Tip 3:
Keep your combo going with simple gun attacks with the Y button while waiting for enemies to attack you. When they do, dodge it and strike with your Umbran Armor’s hold-K attack the moment Witch Time begins. Then immediately cancel your Umbran Armor to save magical power. If you find yourself running low on magic, use some other combos like P-K-P for a while to knock out some more Angels and build it back up.
Tip 4:
Enemies appear in sets of three. If you make your stand close to the center of the fighter jet, they’ll naturally gather around you, which makes it easier for multiples of them to get wrapped up in your Umbran Armor attacks. Taking out all of them with one blow is way more efficient!
Tip 5:
You’ll have already received your Halos by the time the Verse 1 results screen comes up, so you can return to the Chapter Select straight away. You can repeat Verse 1 over and over again to earn Halos more efficiently than elsewhere.
If you’re playing as Bayonetta, your goal is to earn between 500,000 to a million halos or so every time you play Verse 1. If you’re Rosa, ideally you can rack up Halos in the millions in one go!
What’re you waiting for? There are serious Halos to be made – go get your share and try out all the secret items to your heart’s content!